When the centerboard came out of the bag, each side was covered in a single layer of 45/45 and the layers of UD. Along the trailing edge, the layers meet on the solid epoxy that I originally placed in the routed groove before shaping.
Along the leading edge, the carbon layers meet but do not overlap since I did each side separately. This means that I needed to wrap the leading edge with a layer of tape to tie these together before placing the final layer in one continuous piece. (I had rebated the foam in the area to accept this tape.) I VB'd this by taping to the central part of the CB where peel ply still remains. This gave a good result, given the many different profiles along the edge. The reason I didn't use the large bag was to try to avoid a 'wrinkle' along the edge. By putting the VB tape on the bag material, I was able to apply it with tension along the leading edge even before starting the vacuum.
(Hope this makes sense. See my effort at making the chainplates for a little more description. Likely less of a potential problem this time because there's only a single layer.)

I like the look of the carbon! (I forgot to mention that I put a narrow piece of Kevlar down the leading edge of both the rudder and CB. I'm not sure what's best, but I wanted to help the impact resistance to this leading edge.)

It was a little bit of a panic to wrap the whole board in a single piece of wet DB, then put on disposables, then get it in the bag. But it happened, and the result was good.
I pre-cut a little large, then wet the carbon out on plastic (with clear, you can see it has wet all the way through), wet the board, and draped it over while still on the plastic (pre-drawing a center line on the plastic allows you to align the leading edge before really setting it down). Then all the other layers were started while it was still upright.
Once it's covered up to the breather layer, it can easily be moved around without disturbing anything. With it laying on either side, you can open up the package enough to make sure everything is perfect, then slid it in the bag.

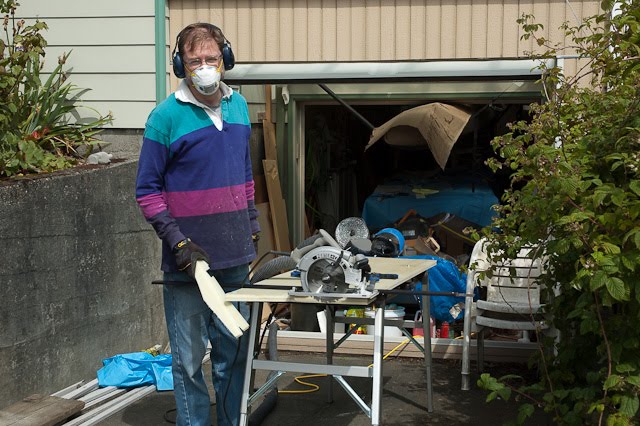
The two halves of the CB case were still bolted together, so it was easy to cut them exactly the same. I started cutting out all the other flat parts as well. A circular saw with rail guide along a straight edge for the straight parts, jig saw for the curved. Bosch has a nice narrow diamond blade (designed for tiles) which works great on the fiberglass.
Making the edge for the centerboard case.

And cutting the edge to height -- since the inner edge has some variability from the tape, I calculated the correct dimension from the table and used the sander on an appropriately-sized block as described by others.

Lines up nicely.

Checking for appropriate clearances with the actual CB.

I switched back to working on the floats. It seems like it's been a long time -- I guess it has. Interestingly, while I'd been postponing putting on the wingnet rails for no particular reason, a builder's update came out with a couple of changes. I was able to accommodate these without any problems.
I researched the bolt rope attachment along the wingnet rail. I like the Sunrise Yatch site (and they will email you costs for F-22s). This quote is important: "There are thin wall aluminum awning tracks and plastic tracks available that will not work for nets, as they are not strong enough and will open up under tension." They have an extruded product that will work, and I printed the full size profile.
Given the changes in height and angles, and knowing the size of the bolt rope extrusion, I likely would have made the rail differently, but it should work fine.

One of the changes called for lowering the rail, so my recesses in the deck helped in this regard. After appropriate positioning, I epoxied it in place, added the taped reinforcing, and finished fairing the deck.

